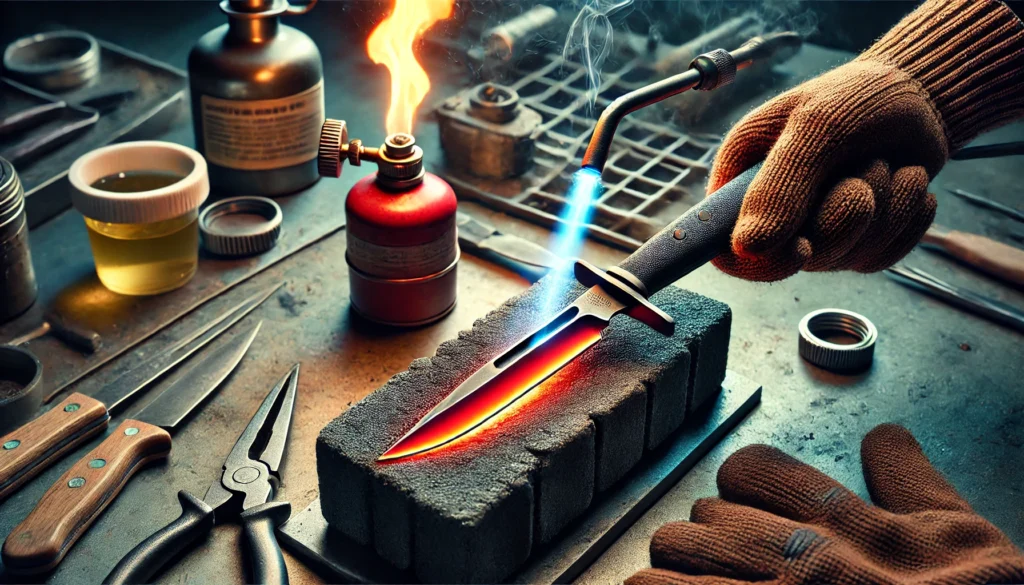
Heat-treating a knife makes it durable, sharp, and resilient. While many guides suggest using a forge for this process, you might be surprised to learn that you can successfully heat treat a knife without one. Whether you’re a beginner or an enthusiast in knife-making or simply looking to maintain your kitchen knives, this guide will walk you through the process using more accessible tools and methods.
How to Heat Treat a Knife Without a Forge? (Short Answer)
To heat treat a knife without a forge:
- Use a propane torch to heat the blade to a cherry-red colour.
- Hold the blade steady and move it through the torch flame evenly.
- Once heated, quench the blade in oil to cool it quickly and harden the steel.
- Test the blade’s hardness with a file; it should glide over the surface.
- Temper the blade in an oven at 350°F for an hour to reduce brittleness.
Why Heat Treating is Important
Before diving into the steps, let’s briefly discuss why heat treatment is crucial. The process involves heating and cooling the metal to alter its physical and sometimes chemical properties. This makes the knife harder and more durable and can hold a sharp edge longer. Without heat treatment, your knife would be soft, dull quickly, and prone to damage.
Materials and Tools You’ll Need
To heat treat a knife without a forge, you’ll need the following materials and tools:
- Propane Torch:
A portable propane torch can provide the necessary heat.
- Firebrick or Heat-Resistant Surface:
To place the knife on while heating.
- Quenching Medium:
Depending on the type of steel, you can use vegetable oil, motor oil, or even water.
- File:
To test the hardness of the blade.
- Oven:
For tempering the knife.
- Protective Gear:
Safety glasses, gloves, and long sleeves to protect against burns.
Step-by-Step Guide to Heat Treating a Knife Without a Forge
Step 1: Preparing Your Workspace
Safety first! Ensure your work area is well-ventilated and free of flammable materials. Wear your protective gear to guard against burns and fumes.
Step 2: Heating the Blade
- Set Up Your Torch and Firebrick:
Position your firebrick or heat-resistant surface in a stable location. Light your propane torch and adjust it to a steady, medium flame.
- Heat the Blade:
Hold the blade with tongs or pliers and move it back and forth through the flame. Please focus on the blade’s edge, where you want it to be the hardest. Heat until the steel is cherry-red (approximately 1,500°F or 815°C). This is known as the “critical temperature.”
Step 3: Quenching the Blade
- Prepare the Quenching Medium:
Prepare your quenching medium in a heat-resistant container. The choice of medium depends on the type of steel. Oil is usually preferred for high-carbon steels.
- Quench the Blade:
Once the blade reaches the critical temperature, quickly and smoothly immerse it in the quenching medium. Agitate the blade slightly to ensure even cooling. This rapid cooling process hardens the steel.
Step 4: Testing Hardness
- File Test:
After quenching, use a file to test the blade’s hardness. If the file skates over the surface without biting in, the blade is adequately hardened. If not, you may need to repeat the heating and quenching process.
Step 5: Tempering the Blade
- Preheat Your Oven:
Set your oven to 350°F to 400°F (175°C to 205°C), depending on the desired hardness. Higher temperatures will result in a softer, more flexible blade, while lower temperatures will produce a more rigid, brittle blade.
- Temper the Blade:
Place the hardened blade in the oven for 1 to 2 hours. This process reduces the blade’s brittleness while maintaining its hardness. Allow the blade to cool slowly in the oven before handling.
Tips for Success
- Consistency is Key:
Ensure even heating by moving the blade consistently through the flame.
- Know Your Steel:
Different types of steel require different quenching mediums and tempering temperatures. Research your specific steel type for the best results.
- Patience Pays Off:
Take your time with the process. Proper heat treatment takes time and precision.
Conclusion:
Heat-treating a knife without a forge is not only possible but also rewarding. With the right tools, materials, and patience, you can achieve a durable, sharp blade that stands the test of time. Whether crafting a new knife or maintaining an existing one, this method provides a practical alternative to traditional forge heat treatment. These steps ensure your knife performs at its best, whether slicing through a juicy steak or finely chopping vegetables.
FAQs
Yes, you can heat-treat a knife using a standard propane torch. Ensure it provides a consistent and robust flame to reach the necessary temperatures.
Oil is often used to quench the blade because it cools the steel more slowly than water, reducing the risk of cracks or warping. It also provides a more consistent hardening effect.
The blade should become cherry-red, which indicates it has reached the critical temperature needed for hardening. This is usually around 1,500°F (815°C).
To protect yourself from burns and hot sparks, it’s essential to wear safety glasses, gloves, and long sleeves. Also, ensure your work area is well-ventilated.
Typically, you should temper the blade in the oven for 1 to 2 hours at 350°F to 400°F (175°C to 205°C). This helps reduce brittleness while maintaining the blade’s hardness.
Yes, you can harden a knife without a forge. Using a blowtorch, heat the blade until it’s red-hot, then quench it in oil. Afterwards, temper it in an oven to reduce brittleness.
Yes, you can make knives without a forge. You can use stock removal, where you shape and grind a piece of steel to form the blade. This method requires essential tools like files, grinders, and sandpaper.

